

How to Regrout Tiles for a Fresh Look and Long-Lasting Finish

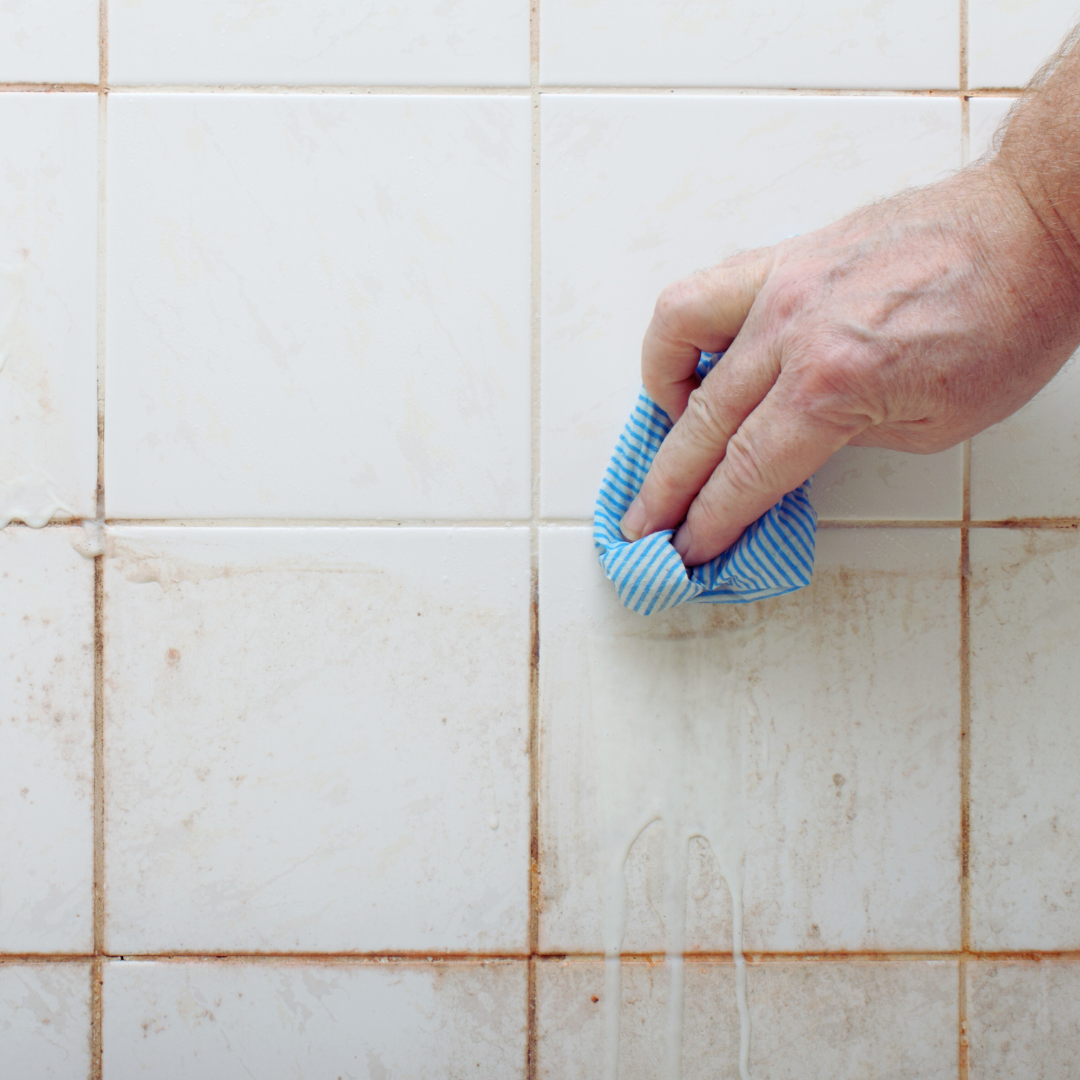
Regrouting tiles can immediately refresh the appearance of any tiled surface. It removes old, stained, or cracked grout and replaces it with clean, new material, making tiles look well-maintained and almost brand new. The key to regrouting tiles effectively is to carefully remove the old grout without damaging the tiles and then apply new grout evenly for a smooth finish.
This process is straightforward but requires the right tools and materials to get a professional result. Whether in a kitchen, bathroom, or floor, regrouting helps prevent water damage and mould growth while improving the overall look. Understanding how to regrout tile properly saves both time and money compared to replacing entire tiles.
By following clear steps for preparing, scraping, and refilling the grout lines, anyone can achieve a neat and durable finish. This guide will explain how to regrout tiles step by step to ensure a lasting, fresh look.
Understanding Grout and Its Importance
Grout plays a crucial role in tile installation, affecting both the appearance and durability of surfaces like floor tile or natural stone tiles. Knowing the right type and maintaining grout joints ensures long-lasting protection and a clean finish.
What Is Grout and Why Does It Matter?
Grout is a paste used to fill the gaps between tiles, securing them and preventing moisture from seeping underneath. It helps distribute weight evenly across the tiled surface, reducing movement that could cause cracks or damage.
Grout also contributes to the overall look of the tile installation. Clean, well-maintained grout lines define each tile and enhance the visual appeal. Neglected grout can lead to mould growth and staining, compromising both aesthetics and hygiene.
Different Types of Grout for Tiles
There are two main types of grout: cement-based grout and epoxy grout. Cement-based grout is more common and comes in sanded and unsanded varieties. Sanded grout is used for wider grout joints (generally over 3mm) and adds strength, while unsanded grout suits narrow joints, especially on delicate tiles like natural stone.
Epoxy grout consists of resin and hardeners, making it more resistant to stains, water, and chemicals. It is tougher and more durable, but can be more difficult to apply. Epoxy grout is often chosen for areas prone to heavy use or moisture, like bathrooms and kitchens.
|
Grout Type |
Best For |
Characteristics |
|
Sanded Cement |
Wider grout joints (>3mm) |
Durable, easy to apply |
|
Unsanded Cement |
Narrow grout joints (<3mm) |
Smooth finish, less abrasive |
|
Epoxy |
Heavy use, wet areas |
Waterproof, stain-resistant |
Signs Your Grout Needs Replacement
Grout needs replacement if it shows visible cracking or crumbling along grout lines. Loose grout can lead to tile movement and potential water damage beneath floor tiles or natural stone tiles.
Discolouration that cleaning cannot remove, persistent mould or mildew, and soft or hollow spots under grout areas signal that the grout has deteriorated. Also, if the grout has lost its water resistance and feels powdery or chalky, replacement is necessary to avoid further tile and surface damage.
Preparing for Regrouting
Successful regrouting requires the right tools, a clean and safe workspace, and selecting the appropriate grout for the tiles. These factors ensure a smooth application and a durable finish that complements the room’s aesthetic.
Essential Tools and Materials
To start, gather these key items: grout removal tool, grout rake, oscillating multitool, utility knife, rubber grout float, grout sponge, grout powder or premixed grout, and a bucket for mixing. The grout removal tool or grout rake helps remove old grout without damaging tiles. An oscillating multitool can speed up this process on larger areas.
The rubber grout float allows for even application of grout between tiles. The grout sponge is used to clean excess grout off tile surfaces during and after application. Using grout powder requires mixing with water per the manufacturer’s instructions for the right consistency. This ensures proper adhesion and finish.
Surface Preparation and Safety
Surface preparation is crucial. Tiles must be clean, dry, and free from dust or debris before applying new grout. Removing old grout thoroughly improves the bond of fresh grout and prevents cracking.
Safety equipment like gloves and eye protection is essential, especially when using power tools or chemicals. Ventilation in the workspace is necessary to avoid inhaling dust or fumes. Checking tiles for damage before regrouting is also important; cracked tiles should be replaced to avoid compromised results.
Choosing the Right Grout Colour and Type
Selecting grout colour affects the room’s style and perception of tile size. Dark grout colours contrast with light tiles to highlight the pattern, while light grout offers a seamless, clean look often preferred by interior designers.
Grout type varies based on location. Cement-based grout is common for walls and floors, while epoxy grout is resistant to stains and water, ideal for kitchens and bathrooms. Consider home decor and tile usage when choosing grout mix to ensure both durability and appearance meet practical and aesthetic needs.
Step-by-Step Guide: How to Regrout Tiles
Regrouting tiles requires careful preparation, precise application, and proper finishing techniques to ensure durability and a clean appearance. Removing the old grout completely is essential, followed by thorough cleaning and inspection of the tile surface. The process concludes with applying new grout and sealing it to prevent future damage or staining.
Removing Old Grout with Proper Technique
The first step in regrouting tiles is to remove the old grout thoroughly. Using a grout removal tool or an oscillating multi-tool with a grout removal blade ensures better control and minimises damage to the tiles. It is important to work slowly and carefully along the grout lines to avoid chipping the surrounding tile edges.
If the grout is particularly hard or cement-based, applying a grout softener beforehand can ease removal. Removing grout by scraping or digging without tools risks damaging tiles and leaving uneven lines, so proper tools are recommended. The grout removal process should clear out at least half the depth of the grout line.
Cleaning and Inspecting Tile Surface
After removing old grout, the tile surface and grout lines must be cleaned thoroughly. Using a stiff brush and warm water removes dust and debris. Any remaining grout haze— a thin, milky layer left on the tile surface—should be cleaned with a specialised grout haze remover or a vinegar solution for non-porous tiles.
Inspect the grout lines for any cracks or tile damage. Cracks need to be ensured a smooth surface before applying new grout. This step is vital to ensure the new grout bonds properly and extends the life of the tile installation.
Mixing and Applying New Grout
Mix the grout according to the manufacturer’s instructions, aiming for a consistency similar to peanut butter. Pre-mixed grout requires stirring to achieve a uniform texture. Avoid mixing too much at once, as grout can dry quickly and become unusable.
Using a rubber float, apply new grout by pressing firmly into the grout lines at a 45-degree angle. Move the float diagonally across the tiles, pushing grout into gaps and ensuring no air pockets remain. Remove excess grout immediately by holding the float at a 90-degree angle and scraping it off tile surfaces.
Finishing and Sealing Grout Lines
Once the grout has set for about 15-30 minutes, use a damp sponge to wipe off grout residue from tiles, rinsing frequently. Avoid soaking the grout lines as this can weaken them. Allow grout to dry partially before lightly polishing tiles with a dry cloth to remove any remaining grout haze.
After curing fully (usually 72 hours), apply a grout sealer with a small brush or applicator. Sealer protects grout from stains and moisture, extending durability. Regular resealing is recommended every 6 to 12 months, especially in wet areas like bathrooms.
Maintaining Your Newly Regrouted Tiles
Proper care after regrouting is essential to ensure the grout hardens correctly and stays clean. Addressing residue and protecting the grout will improve the tile surface’s look and lifespan.
Curing and Protecting the Grout
Once the regrouting process is complete, the grout needs time to cure. This usually takes 24 to 72 hours, depending on the product used and environmental conditions. During this period, avoid using water or cleaning products on the tiles.
Applying a grout sealer after curing is crucial. The sealer prevents moisture penetration, reduces staining, and enhances longevity. It is best applied evenly with a small brush or applicator, allowing it to soak into the grout lines for the recommended time.
Reapplication of grout sealer every 6 to 12 months helps maintain the grout’s condition, particularly in wet areas like bathrooms and kitchens.
Dealing with Grout Haze and Residue
Grout haze is the fine film left on tiles after the grouting material dries. It typically appears as a dull, white residue. Removing this haze promptly ensures the tiles remain clean and bright.
A damp sponge used during the grouting process can reduce haze, but some may remain after curing. Use a specialised grout haze remover or a mild acid solution like diluted vinegar to clean the residue.
Care should be taken not to damage the grout lines during cleaning. Test cleaners on a small area first. Avoid abrasive scrubbing, as it can remove grout or scratch tile surfaces.
Enhancing Durability and Appearance
Regular cleaning with pH-neutral cleaners keeps grout looking fresh. Avoid harsh chemicals that break down the grout sealer or degrade grout lines.
To protect the grout from stains, avoid spilling oils, dyes, or coloured liquids directly onto the tiled surface. Address spills immediately with a clean cloth and mild detergent.
Routine inspection of grout lines assists in spotting cracks or damage early. Prompt repairs prevent water ingress behind tiles, maintaining both function and appearance after the regrouting process.