
How to Build a DIY Bookshelf: A Step-by-Step Guide for Beginners
Creating a DIY bookshelf can be an enjoyable and fulfilling woodworking project that enhances any living space. With the right materials and a simple plan, anyone can build a sturdy and stylish bookshelf tailored to their needs. Whether it’s for displaying books, collectables, or personal items, a bespoke bookshelf adds character to a room.
This project is not just cost-effective but also allows for personalisation in design and dimensions. From selecting the appropriate wood to determining the size that fits perfectly in a chosen space, the process is straightforward. By understanding the essential steps involved, individuals can craft a piece that not only serves a purpose but also reflects their style.
Planning Your DIY Bookshelf
Creating a DIY bookshelf requires careful planning, focusing on design choices, materials, and detailed plans. Thoughtful consideration will lead to a robust and aesthetically pleasing book storage solution.
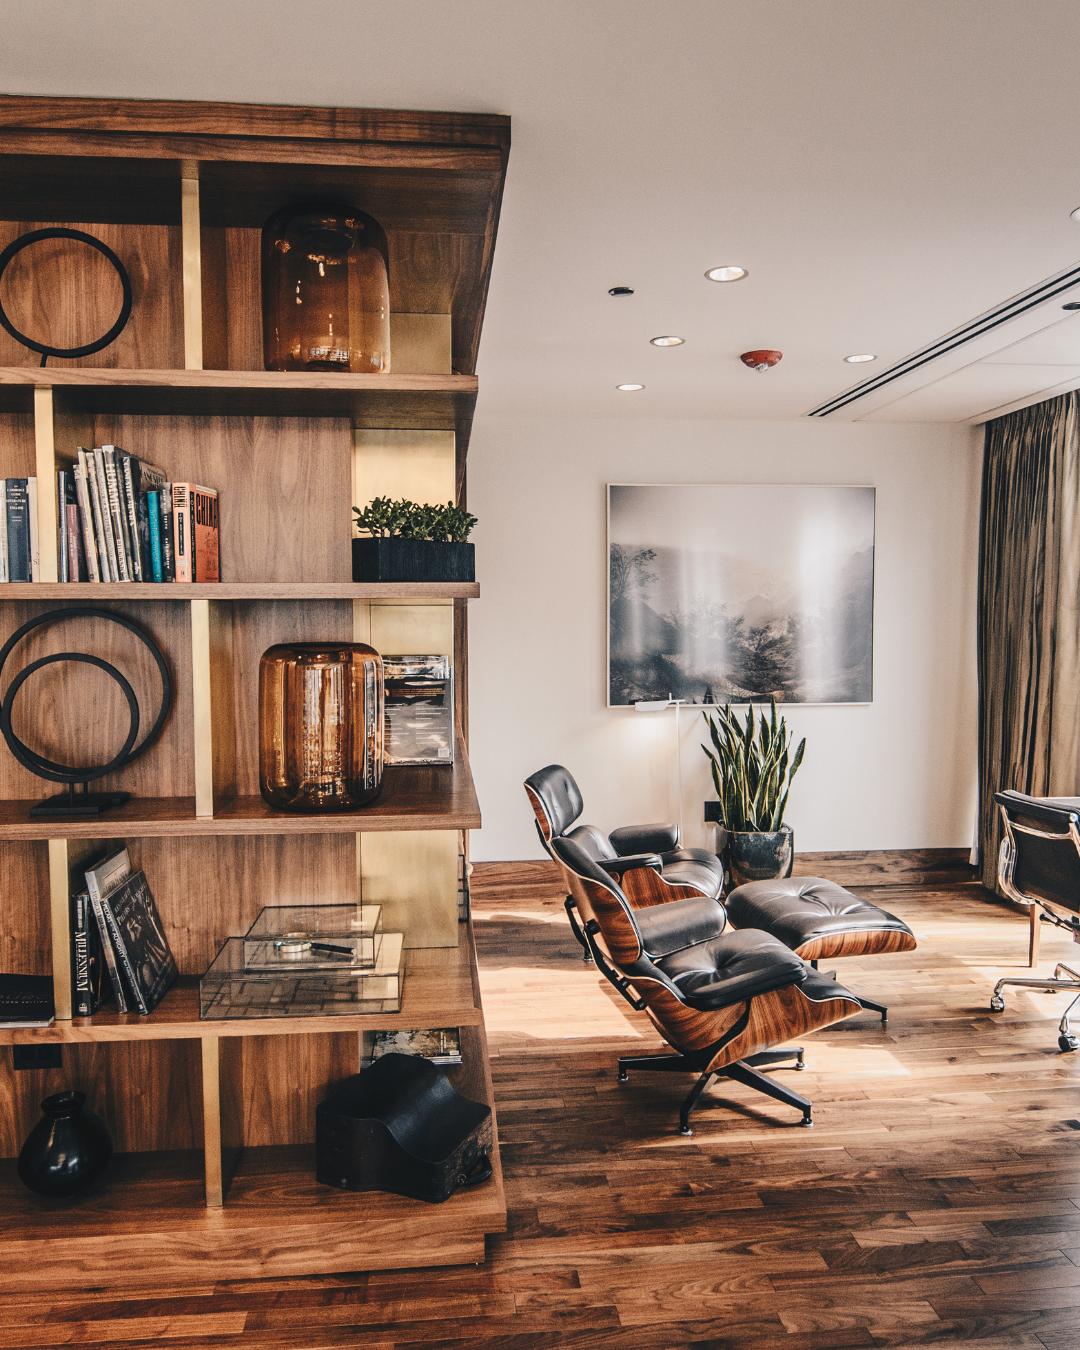
Choosing the Right Design
When selecting a design, consider the space available and personal style. Options range from rustic bookshelves to contemporary bookcases, each offering unique appeal. Popular choices include:
- Floating bookshelves: These create a modern look and save floor space.
- Cubby bookshelves: Ideal for organising books and decorative items.
- Industrial bookcases: Often utilising metal and wood, these add a chic touch.
It’s beneficial to sketch ideas or use software to visualise how different designs work in the intended space. Check for free DIY bookshelf plans online, which often include measurements and diagrams to simplify the decision-making process.
Gathering Materials and Tools
The right materials and tools ensure a successful build. Common materials include:
- Plywood or MDF for the shelves.
- Wood screws and brackets for sturdiness.
- Finishing materials like paint or wood stain for aesthetics.
Essential tools consist of:
- A saw (circular or jigsaw)
- A drill for creating holes
- A level to ensure everything is straight
Collecting tools before starting will streamline the process. If a specific project calls for unique materials, such as those needed for a tree bookshelf or mid-century bookshelf, the list may vary, so adapt accordingly.
Understanding Bookshelf Plans
Detailed plans can significantly simplify the building process. Plans should include dimensions, material lists, and step-by-step instructions. It’s crucial to evaluate:
- Assembly techniques: Will it require basic joinery or more complex construction?
- Weight distribution: This impacts the stability of designs like corner bookshelves or modular bookcases.
Review various plans to identify which suits the intended design and skill level. Consider watching tutorial videos, as they offer visual guidance that can clarify confusing steps in traditional plans. With thorough planning, building a DIY bookshelf becomes a manageable and rewarding project.
Constructing the Bookshelf
Constructing a DIY bookshelf involves precise cutting and careful assembly to create a sturdy shelving unit. Attention to detail during the fixing and mounting process ensures that the bookshelf is both functional and visually appealing.
Cutting and Assembling
Start by measuring and marking the plywood for your bookshelf. Common sizes for shelves are 30 cm deep and 90 cm wide, but adjustments can be made based on space and preferences. Use a circular saw or jigsaw for straight cuts, ensuring that each piece is uniform.
After cutting, sand the edges to prevent splinters. Assemble the frame by connecting the vertical sides to the top and bottom panels. Use wood screws for a secure fit. Consider creating built-in shelves or a rolling bookshelf design for added functionality. Incorporating hidden storage can also enhance the utility of the bookshelf.
Fixing and Mounting
Once the assembly is complete, it’s time to secure the bookshelf. If it is a wall-mounted bookshelf, find wall studs or use drywall anchors to ensure stability. Mark the desired height for mounting and drill holes based on the bracket size.
For a more professional appearance, level the bookshelf before fixing it. Use a stud finder to locate sturdy areas in the wall, and ensure that the bookshelf can support the weight of the books. It is advisable to finish with a varnish or paint to protect the wood and enhance the look.
Finishing Touches
The finishing touches can significantly enhance the aesthetic and functionality of a DIY bookshelf. Key tasks involve sanding and painting, adding decorative elements, and creating a comfortable reading environment. Each step contributes to the overall appeal and usability of the bookshelf.
Sanding and Painting
Sanding is crucial for achieving a smooth surface. Using sandpaper, start with a coarse grit to remove imperfections. Progress to finer grits to create an even finish. This process ensures paint adheres well and looks professional.
Once sanded, choosing the right paint is essential. Acrylic latex paint is recommended for its durability and ease of application. For a rustic bookshelf, consider a wood stain to highlight the natural grain. Always apply multiple thin coats, allowing adequate drying time between applications for the best result.
Adding Decorative Elements
Personalising the bookshelf with decorative elements can elevate its visual interest. Simple options include adding wooden edges or using moulding for a sophisticated look. For a modern touch, incorporating cloud bookshelf ledges can create a whimsical display for books and decor.
Artwork, photographs, or plants can also enhance the unit’s appeal. Strategically placing these items can create a harmonious balance. Ensure the colours and styles align with existing decor to maintain a cohesive look throughout the space.
Creating a Cozy Reading Nook
Transforming the area around the bookshelf into a reading nook can make it more inviting. Start by placing a comfortable chair adjacent to the shelf. Opt for a soft throw blanket and cushions to enhance comfort.
Lighting plays a critical role in a reading nook. A stylish floor lamp or wall sconce can provide adequate illumination without being harsh. Finally, consider adding a small side table for a drink or snacks, making the space functional for relaxation.